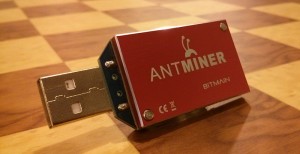
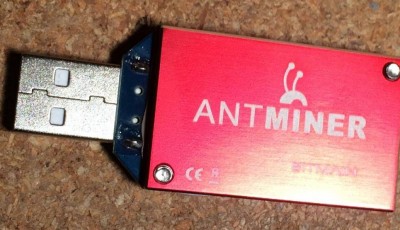
Antminer U1- How To Setup Guide
AntMiner U1 Setup Guide

AntMiner U1
Step 1. Install CP2102 driver
Step 2a. Either Use the Cgminer for antminer-u1 provided by Antminer
- Select cgminer-run-windows-20131224.zip
- Select “View Raw” and save somewhere convenient
- Unzip contents somewhere.
- Plugin Antminer
- Download and run ZAdig from
- Click Options -> List all Devices
- Select CP2102 USB to UART Bridge Controller, and then click “Reinstall Driver”(Repeat for each U1)
- Make .bat file with contents
“cgminer.exe --bmsc-freq 0781 --bmsc-options 115200:20 -o stratum+tcp://bcx.argakiig.us:7070 -O argakiig.1:x”(be sure to change -o to your URL:port and -O to your weblogin.worker:worker password) - Run .bat file in cgminer directory
Step 2b. For BFGminer download version 3.10
- Unzip contents
- Create .bat file with contents
“bfgminer.exe -S antminer:all --set-device antminer:clock=x0781 -o stratum+tcp://bcx.argakiig.us:7070 -O argakiig.1:x”(be sure to change-o to your URL:port and –O to your weblogin.worker:worker password) - Run .bat file in BFGminer directory
Go through all of the steps again if you are getting error on any step. Start from the beginning and carefully follow each step. Leave a comment below if you’re having trouble setting up the AntMiner U1.
Click for Image
--


You can also use MacMiner for cgminer or bfgminer on Mac OS X http://macminer.net/
I don’t get why you have set the clock speed via antminer:all –set-device antminer:clock=x0781 when bfgminer doesn’t refer to the devices as an antminer officially? It calls them short names like BC0 etc